As an Amazon Associate I earn from qualifying purchases. Some links may earn us a commission at no extra cost to you. Prices and availability are set by Amazon. How we choose
Pick the motif before the colour
The reason so many themed Halloween manicures land somewhere between kids' party and costume-shop clearance is that the motif was chosen after the colour instead of before it. Decide the icon first — the one small figure you want on the nail — and the whole design falls into place around it. Everything else on this list is a variation on a single strong motif per hand, rendered as small as you can bear.
The seventeen designs below are grouped by motif family: web and spider, ghost and boo, moon and celestial, jack-o-lantern and pumpkin, black cat, potion and cauldron, and skeleton. Each family gets two or three variants at increasing effort, so you can pick your tolerance. If you have never drawn on a nail before, start in the web section: three straight lines and two curves is the entire technique, and nobody will know it took you fifteen minutes to get right.
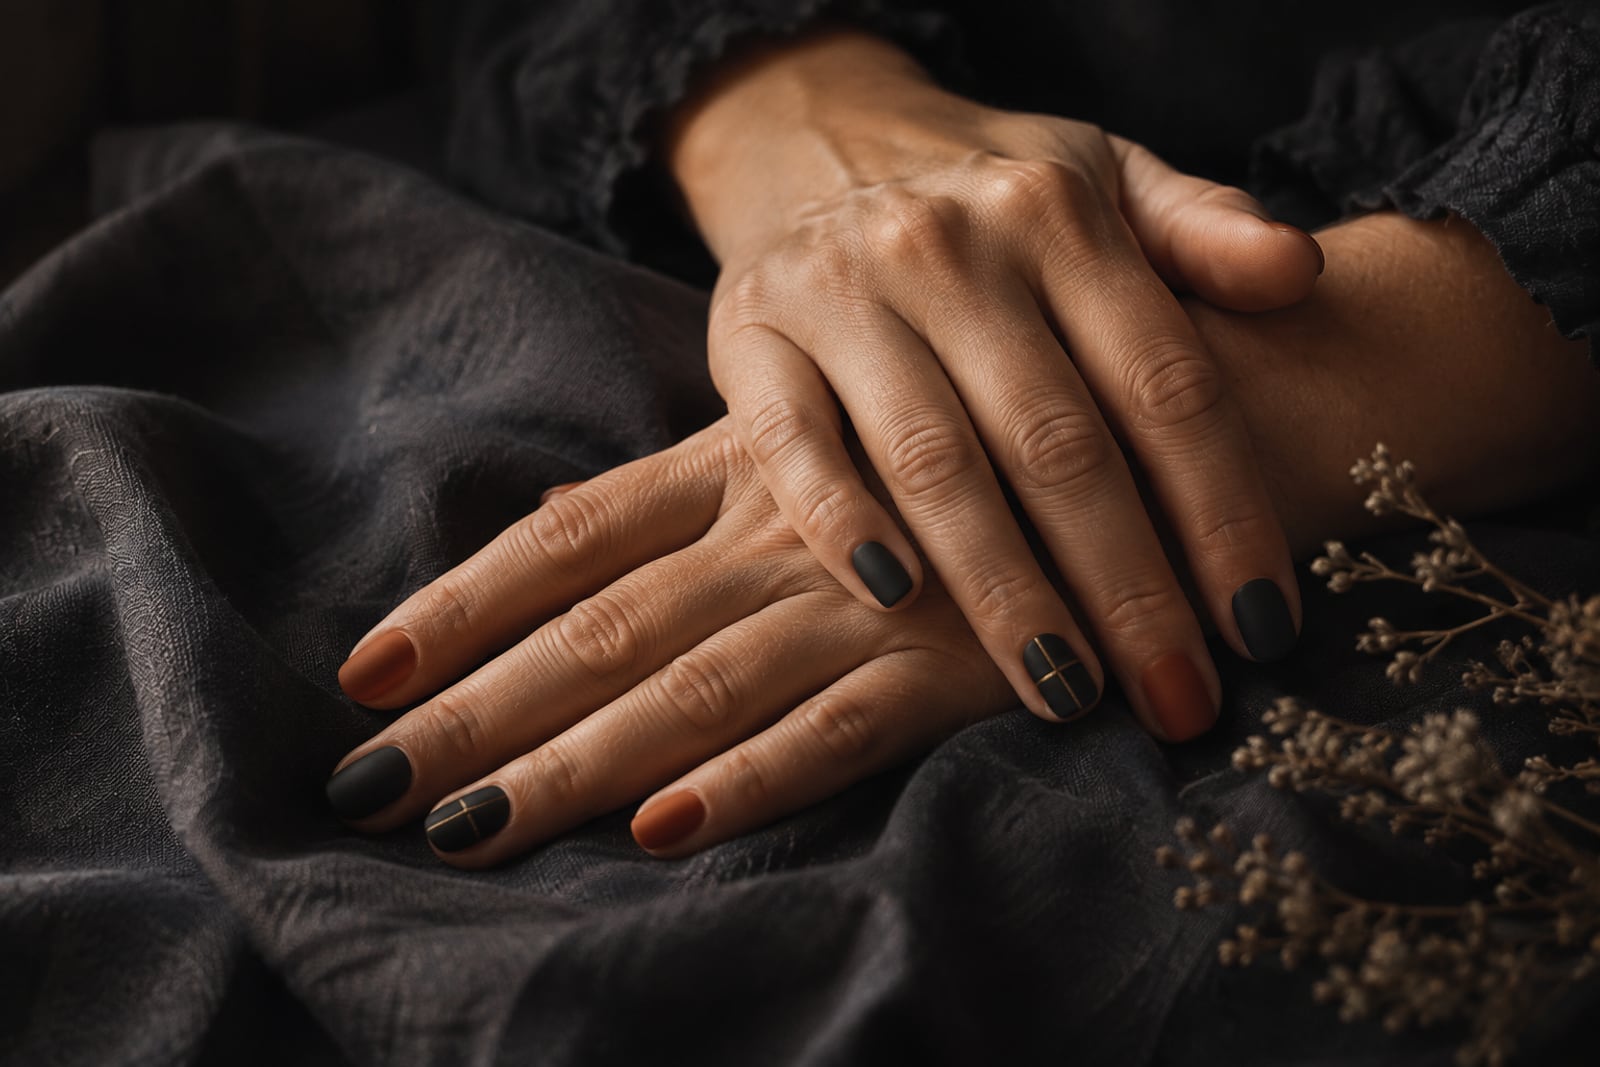
One rule holds across every design: the motif reads best when it sits on one accent nail against a neutral field, not scattered across all ten. A single spider web on the ring finger, with the other nine nails in a considered neutral, looks styled. Ten spider webs at ten different sizes looks like a school craft table.
Web and spider (Ideas 1–3)
Idea 1: the corner web. Black base or nude base — either works — with a fine white or gold web tucked into the top corner of one accent nail. Three straight lines radiating from the corner, then two shallow curves connecting them at unequal distances. The unequal spacing is the whole trick; evenly spaced arcs look like a wheel, not a web.
 Shop this idea · The corner webArtdone Metallic Nail Art PensCheck price on Amazon
Idea 2: the full-nail web. Same technique but scaled up to fill an entire matte-black accent nail with a fine white web, the anchor point at dead centre. Six radial lines instead of three, then four arcs. This is the classic Halloween nail and it still works because the geometry is genuinely satisfying.
 Shop this idea · The full-nail webWhaline Halloween Nail Stamping PlatesCheck price on Amazon
Idea 3: the spider on the thumb. A tiny black spider — one round body, eight quick legs — on a nude thumb. Small on purpose: a spider drawn larger than a lentil looks cartoonish. Do this on the non-dominant thumb only, because painting a spider on your dominant hand while holding a brush in that same hand is a recipe for a smudge.
 Shop this idea · The spider on the thumbArtdone Nail Art Brush & Dotting Tool Set, 31 PiecesCheck price on Amazon
Ghost and boo (Ideas 4–6)
Idea 4: the friendly ghost. A small cream ghost silhouette — teardrop head, wavy hem — on one accent nail, on a base of muted charcoal. Two black dots for eyes and a smaller one for the mouth, all at unequal spacing so the face reads as sleepy rather than shocked. Sleepy ghost photographs better than shocked ghost, every time.
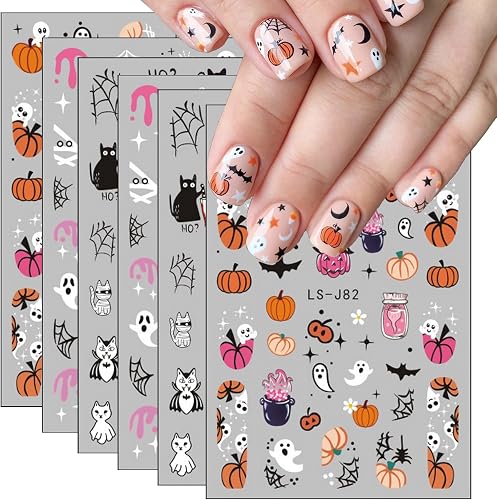 Shop this idea · The friendly ghostGhost & Pumpkin 3D Nail StickersCheck price on Amazon
Idea 5: the ghost couple. Two small ghosts on one accent nail, one slightly smaller than the other, both floating off-centre. The composition rule is the same as any two-figure vignette: never sit them at equal heights, and never make them the same size. Slight asymmetry reads as intention.
 Shop this idea · The ghost coupleBeetles Whispers of Love Jelly Gel SetCheck price on Amazon
Idea 6: the boo lettering. A cream nail with 'BOO' hand-lettered in a chunky serif across the middle in charcoal. Practise the letters on paper first — the two Os are what break most attempts, and they need to be nearly circular rather than oval. If lettering isn't your strong suit, alphabet nail stickers work well here.
 Shop this idea · The boo letteringOld English Letter Nail StickersCheck price on Amazon
Moon and celestial (Ideas 7–9)
Idea 7: the crescent moon. A gold or bone crescent on a deep charcoal-plum base, drawn as two overlapping circles — one full and one just inside the edge, the negative space making the crescent. This is genuinely easier than freehanding a curve and gives a much cleaner shape.
 Shop this idea · The crescent moonBeetles Metallic Liner Gel Set (Gold, Silver, Bronze)Check price on Amazon
Idea 8: moon phases across five nails. Full moon on the thumb, gibbous on the index, half on the middle, crescent on the ring, new moon (blank charcoal) on the pinky. This is the design that photographs so well it justifies the twenty minutes it takes. Keep the moons all the same size — the composition depends on scale consistency across fingers.
 Shop this idea · Moon phases across five nailsDouble Rhythm Sheer Gel Nail PolishCheck price on Amazon
Idea 9: star scatter. Tiny gold five-point stars scattered across a charcoal base at random sizes and orientations. Random is harder than it sounds; think of them as leaves rather than snowflakes, with clusters and gaps. Even distribution reads as wallpaper.
 Shop this idea · Star scatterEBANKU Star Glitter ConfettiCheck price on Amazon
Jack-o-lantern, black cat and pumpkin patch (Ideas 10–13)
Idea 10: the jack-o-lantern face. A single carved-pumpkin face on one burnt-orange accent nail. Triangle eyes, triangle nose, gap-toothed grin. The face must sit slightly below centre — pumpkin carvings look wrong when the features are centred vertically, and painted ones are no different.
 Shop this idea · The jack-o-lantern faceBeetles Orange Gel PolishCheck price on Amazon
Idea 11: the black cat silhouette. A small black cat crouched or sitting, in profile, on a base of muted terracotta or bone. Cats read better in silhouette than any other Halloween motif because the shape does all the work — an ear line and a tail curl are the entire story.
 Shop this idea · The black cat silhouetteIDDFEVE Halloween Skeleton Cat Nail StickersCheck price on Amazon
Idea 12: the pumpkin patch. A row of three tiny pumpkins in cream, terracotta and pale sage along the base of a bone-coloured accent nail. Vary the sizes and let the smallest tuck partly behind a larger one. This one earns its keep as the Halloween nail that still works in the second week of November.
 Shop this idea · The pumpkin patchOkiyomi Halloween Nail StickersCheck price on Amazon
Idea 13: the pumpkin stack. A tall stack of three graduated pumpkins in the same muted palette, on a charcoal accent nail. Anchor them at the base of the nail rather than the middle so the stack has weight.
 Shop this idea · The pumpkin stackArtdone Double-Ended Dotting Tools, 6 PiecesCheck price on Amazon
Potion, skeleton and full glam (Ideas 14–17)
Idea 14: the potion drip. A charcoal or emerald base with a wax-seal drip of contrasting colour running down from the cuticle, as though the potion had spilled. Draw the drip blobs first and connect them afterwards — attempting the whole drip in one confident stroke rarely works.
 Shop this idea · The potion dripBeetles Green Gel Nail PolishCheck price on Amazon
Idea 15: the skeleton hand. Fine white bone lines painted along each nail so the manicure reads as a skeletal hand when the fingers are together. High effort, huge payoff, and easier than it looks because the bones follow the finger geometry — one long line down the middle of each nail with two hinges.
 Shop this idea · The skeleton handGlamnetic Halloween Press On NailsCheck price on Amazon
Idea 16: the cauldron and steam. A rounded black cauldron shape at the base of the nail with three curling wisps of pale green steam rising above it. The steam needs to be uneven; three identical curls read as a decorative flourish rather than steam.
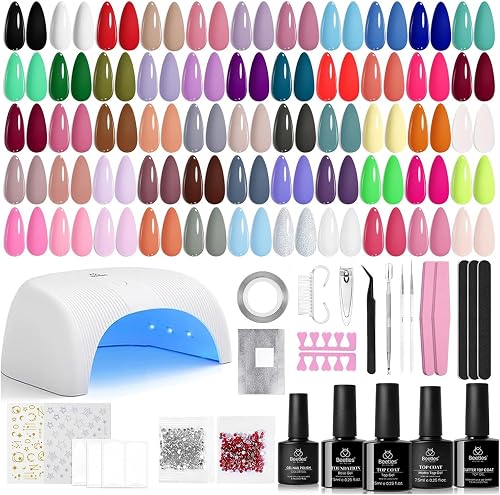 Shop this idea · The cauldron and steamBeetles Gel Nail Polish Kit with U V LightCheck price on Amazon
Idea 17: the full glam mix. All ten nails different — a web, a ghost, a moon, a cat, a pumpkin, a bat, a skeleton bone, a spider, a bow, and one plain terracotta breather nail. Chaotic on purpose and the manicure that gets photographed at every party you attend on 31 October.
 Shop this idea · The full glam mixJODSONE U V LED Nail LampCheck price on Amazon
The technique that makes any of them work
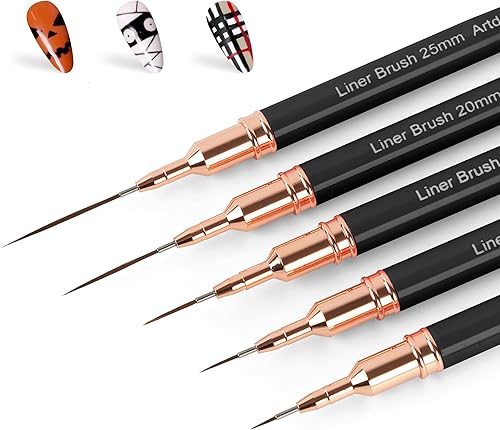
Almost every themed nail failure is a brush problem, not a design problem. Two brushes do ninety per cent of what's on this list: a striping brush with long, fine bristles for lines and arcs, and a dotting tool for eyes, dots and spider bodies. Total cost is under ten pounds and they last years. Trying to do fine detail with the brush that came in the polish bottle is why your web looks like a badly wrapped parcel.
Load the striping brush lightly, brace your painting hand's little finger against the table, and rest the nail on a surface rather than holding it up. Every steady-hand tip collapses into this: your wrist shouldn't be floating. Pull each line in one movement — hesitating to correct mid-line is what creates the wobble you're trying to avoid.
Seal every design with a slow-drying top coat rather than a quick-dry one. The design floats slightly into the top coat and self-levels, which softens hard edges and hides the small imperfections that make a manicure look homemade. Give it fifteen minutes to level before touching anything.
Questions, answered.
What's the easiest themed Halloween nail design for a beginner?
The corner spider web — three straight lines from a corner and two shallow arcs — on one accent nail. It's five strokes total, the geometry hides small imperfections, and it reads as unmistakably Halloween. Do the whole ten-nail manicure in a neutral, add the web to one ring finger, and you're done in twenty minutes.
Should I put a design on every nail?
No. One accent nail with a strong motif against nine neutral nails almost always looks more considered than ten decorated nails. The exception is moon phases across five fingers, where the whole point is the sequence.
Do I need special brushes for Halloween nail art?
A striping brush (long, fine bristles for lines and arcs) and a dotting tool (a rounded metal tip for dots) will handle almost every design on this list. Both together cost under ten pounds. The brush that comes in the polish bottle is too wide and too soft for fine detail.
How long do these designs take?
A single accent nail with a simple motif — web, moon, ghost — is about ten minutes on top of a base manicure. The full-glam mix and skeleton hand designs run to about forty-five minutes. Do your nails the day before, not the morning of, so the polish has time to harden.
Can I do these on natural nails, or do I need press-ons?
Both work. Press-ons are useful if you need short nails Monday morning and long ones Saturday night, or if you can't have painted nails at work. Every design on this list can be applied to press-ons off the finger — much easier — then applied when dry.
Key takeaways
- Pick the motif first, then build the palette around it.
- One strong motif on an accent nail reads better than the same motif on all ten.
- Sleepy ghost faces photograph better than shocked ones — space the dot features unevenly.
- For moon phases across five nails, keep the size consistent and vary the shape.
- Random star scatters look like leaves, not snowflakes — cluster and gap them on purpose.
- A striping brush and a dotting tool do ninety per cent of this list; the brush in the polish bottle does not.
- Rest your wrist on the table and pull each line in one movement.
Save the idea for later.
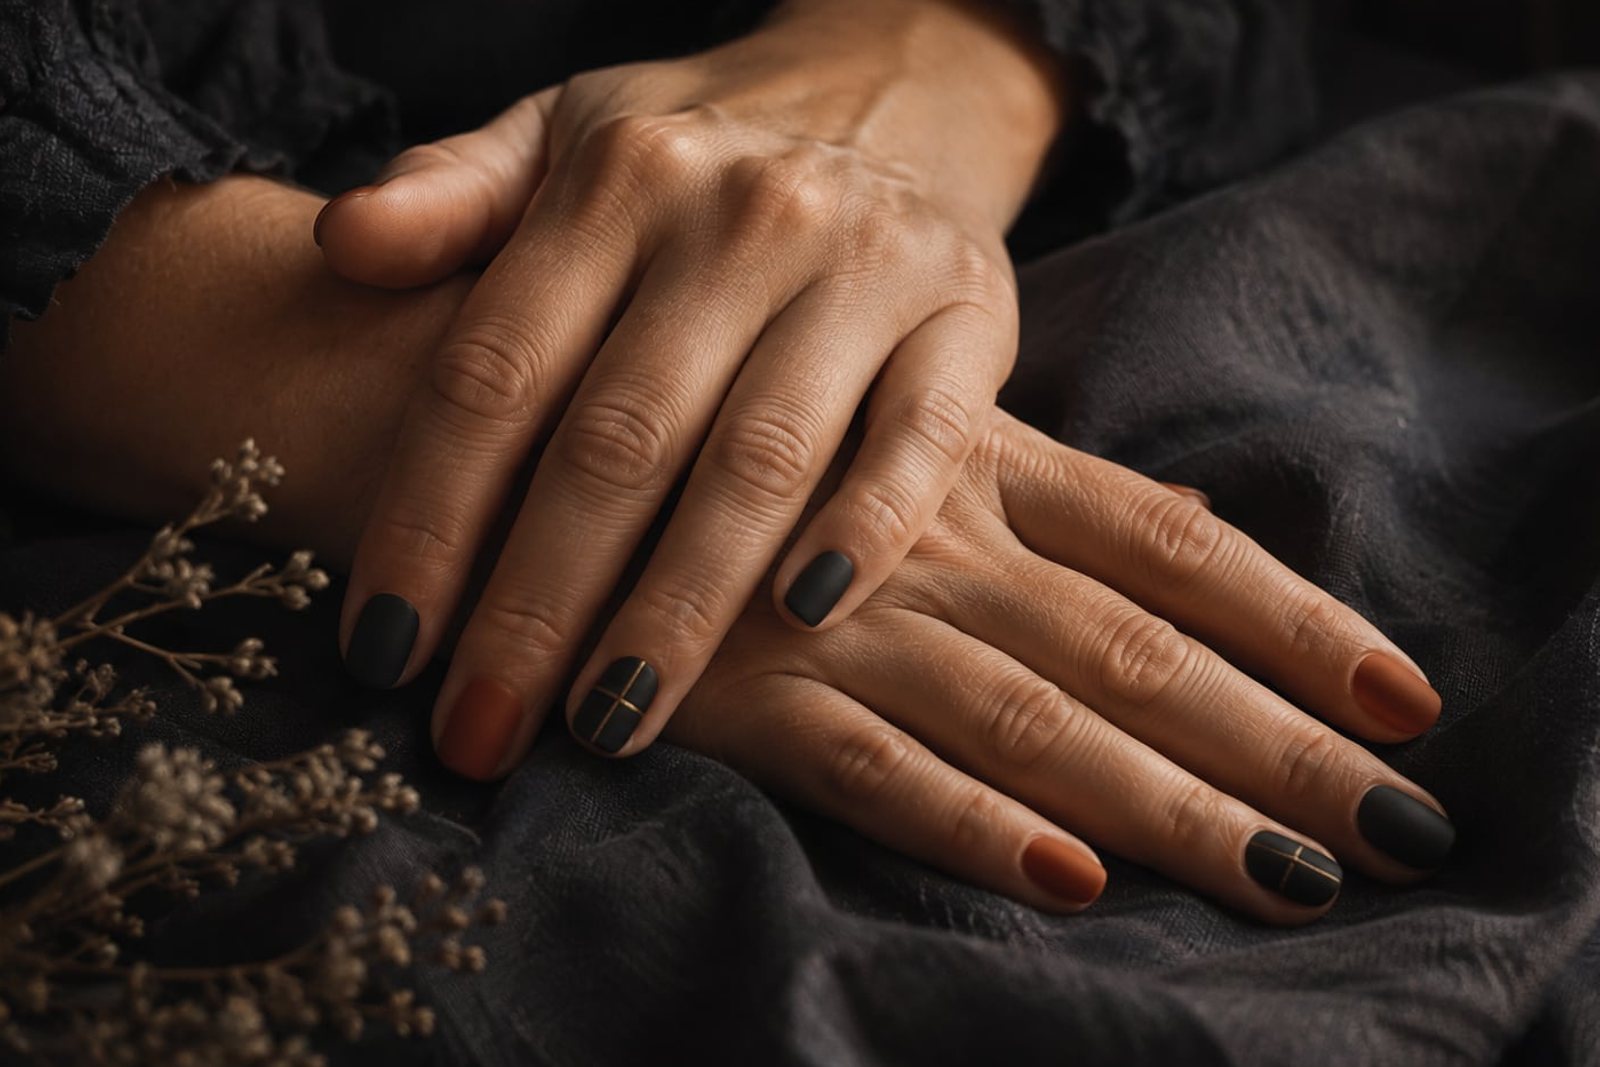
Halloween Themed Nail Designs: 17 Motifs From Subtle to Spectacular
Seventeen Halloween nail designs organised by motif rather than by colour — spider webs, ghosts, moon phases, jack-o-lantern faces and more — with the pattern-drawing techniques that make each one look intentional instead of childish.