
Start with the right material, not the right design
Beginners almost always fail on material rather than design. A gorgeous SVG cut in the wrong vinyl, with the wrong blade pressure, on a mat that has lost its tack, produces a torn mess and the conclusion that the machine is difficult. It isn't — but the order of learning matters, and it runs material first, design second.
There are three material families in this article. Removable adhesive vinyl is the beginner's material: it cuts easily, sticks to smooth surfaces, and peels off later without residue, which makes it perfect for seasonal decor you want gone in November. Permanent adhesive vinyl is for things that get washed, like a mug. Heat transfer vinyl, sometimes called iron-on, goes on fabric and needs heat and pressure.
Cardstock is the fourth, and it is trickier than it looks despite feeling like the simplest. It dulls blades faster than vinyl, needs a stronger-tack mat, and tears if the design has fine detail. Do a vinyl project first. A note on the SVGs themselves: a huge number of free Halloween cut files circulating on Pinterest are traced from copyrighted characters. Cutting one for your own wall is one thing; selling it is a real legal risk, and the seller usually has no rights to license it to you in the first place.
Projects 1–4: single-layer vinyl, the place to start
Project 1: window bats. A flock of bats in removable black vinyl, applied directly to a window and read as silhouettes from the street. Single layer, no layering or alignment, and the scale is forgiving. This is the correct first project for anyone.
Project 2: the jar lantern. Bat or cat silhouettes on a plain glass jar with a tealight inside. Cutting curves is the lesson here — apply the vinyl to a curved surface by cutting the transfer tape into smaller sections rather than trying to wrap one large piece, which always wrinkles.
Project 3: the doormat stencil. Cut a stencil from removable vinyl, stick it to a coir doormat, and stipple outdoor paint through it with a stiff brush. Stipple, never brush — brushing forces paint under the stencil edge and blurs everything.
Project 4: the mirror message. Vinyl lettering applied to a bathroom or hallway mirror. Lettering teaches you weeding properly, because letters have counters — the holes in an A, an O, a B — and forgetting to weed them is how a beginner ends up with solid blobs.
Projects 5–8: layering and heat transfer
Project 5: the two-colour pumpkin. A layered vinyl decal on a plain ceramic pumpkin — cream base, charcoal detail on top. The lesson is registration: use the alignment marks and apply the bottom layer completely before touching the top.
Project 6: the tea towel. Heat transfer vinyl on a plain cotton towel. Mirror the design before cutting — this is the single most common HTV mistake, and every beginner makes it exactly once. Cut with the shiny carrier sheet down.
Project 7: the family shirts. Same HTV technique, larger scale. Pre-press the fabric for a few seconds to drive out moisture before applying, or the design will lift at the edges after the first wash.
Project 8: the tote bag. HTV again, but the lesson is pressure. A home iron struggles on thick canvas; if the design lifts, the cause is almost always insufficient pressure rather than insufficient heat. Lean on it, work in sections, and don't slide the iron around.
Projects 9–12: paper, layers and the ambitious ones
Project 9: layered paper bats for the wall. Cardstock in three greys, mounted on foam dots so they cast real shadows. The foam dots are the whole trick — flat paper bats look like a school display, while bats floating five millimetres off the wall look genuinely eerie under a lamp.
Project 10: the paper lantern. A cylinder of cut cardstock around an LED tealight. Score lines matter here: let the machine score rather than cutting, then fold along the score. A hand-folded cylinder never closes cleanly.
Project 11: the layered shadow box. Three or four cut cardstock layers in a deep frame, lit from behind. The most impressive thing on this list and genuinely achievable — the difficulty is patience with alignment, not skill.
Project 12: the front door vinyl mural. A large single-colour design, cut in sections and tiled onto the door. Big, dramatic, removes cleanly in November. Cut it in overlapping sections and apply from the centre outward, smoothing as you go.
The settings and habits that actually matter
Always do a test cut. It takes ninety seconds and it saves entire sheets of material. Every roll of vinyl behaves slightly differently, blades dull gradually, and mats lose tack — so a setting that worked last month may not work today. Cut a small square in the corner of the sheet and check it before committing.
The correct cut depth for adhesive vinyl scores the vinyl and leaves the paper backing intact. If you can see cut lines on the backing, the pressure is too high, and the material will tear during weeding. If the vinyl won't separate cleanly, it's too low. This is called a kiss cut and it is the single most useful concept in the hobby.
For weeding, two habits: work from the outside inward, and pull at a shallow angle back across the design rather than straight up. Straight-up pulling lifts the pieces you want to keep. If a design is intricate, weed it on a light pad or over a lit phone screen — the cut lines become visible and the whole job becomes twice as fast. And when a mat stops holding, wash it with warm water and a little dish soap, let it air dry, and most of the tack comes back. People replace mats far more often than they need to.
Curated picks for this guide
We may earn a commission from these links at no cost to you — here's how that works.

Classic Witch Costume Kit
A pointed velvet hat, plum cape, and twig broom in one box — the backbone of about a dozen family costume combinations.
Curated pick · Available at Amazon
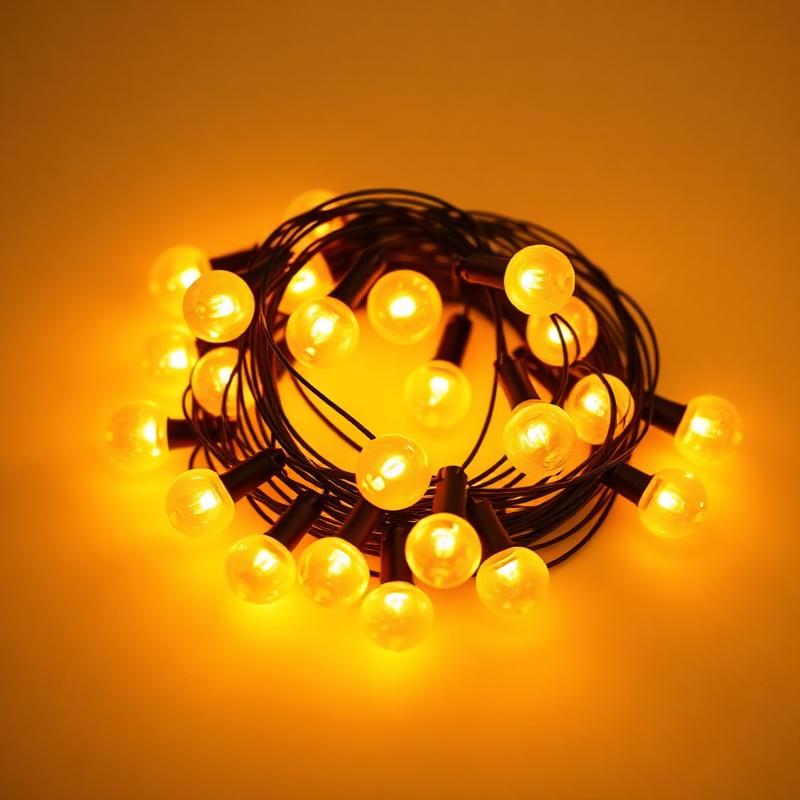
Warm Amber Globe String Lights
Outdoor-rated amber globes on a dark cord. String them along the railing — not the roofline — for that golden-hour glow all night.
Curated pick · Available at Amazon
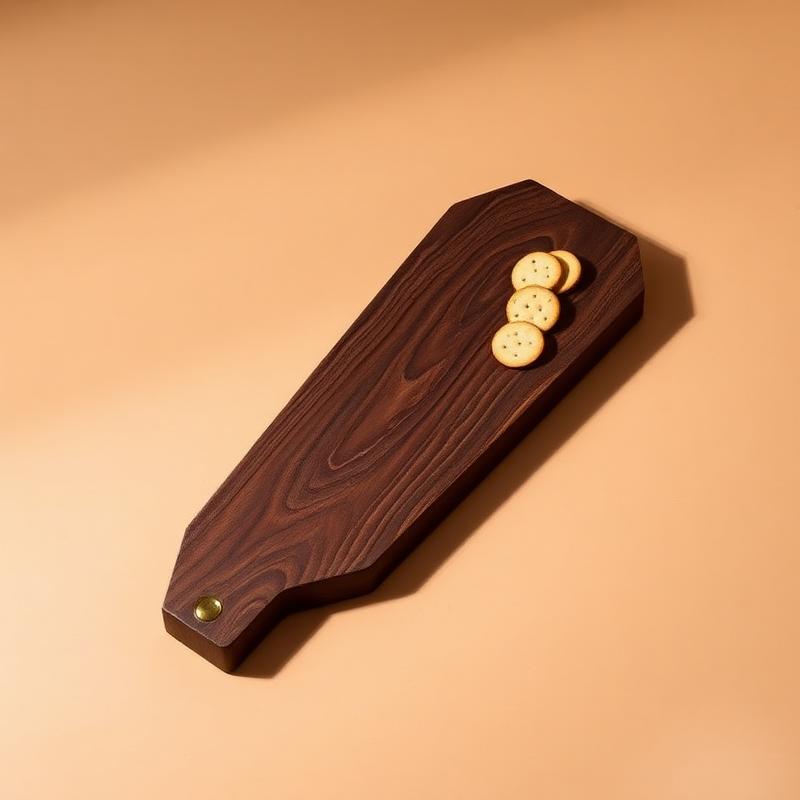
Coffin Serving Board
A coffin-shaped walnut board with a brass detail — cheese, charcuterie, or a pile of mummy hand pies all look better on it.
Curated pick · Available at Etsy
Save this for later
Pin this guide to your Halloween board
October comes around fast. Save this now and future-you — standing on the porch with a stapler and a dream — will be grateful.
Save to PinterestFrequently asked questions
What's the easiest first Cricut Halloween project?
Black removable vinyl bats on a window. Single layer, no layering or alignment, forgiving at any scale, and it peels off cleanly in November. It teaches weeding and transfer tape without any of the complications.
Why is my vinyl tearing when I weed it?
The cut is too deep — you're cutting through the backing as well as the vinyl, so the design has nothing holding it. Reduce pressure and run a test cut until you get a kiss cut: the vinyl separates, the paper backing stays intact.
Do I need to mirror my design?
Only for heat transfer vinyl (iron-on), and then always. Adhesive vinyl and cardstock are never mirrored. Forgetting to mirror HTV is the most common beginner mistake and it isn't recoverable — the material is wasted.
How do I stop my cutting mat losing its stick?
Wash it. Warm water, a drop of dish soap, a soft brush, then air dry face up without touching the surface. Most of the tack comes back. Also keep the clear cover sheet on between uses and lift material off with a scraper rather than peeling the mat off the project.
Can I sell things I make with free Halloween SVG files?
Check the licence for each file, and be sceptical. A large share of free Halloween cut files are traced from copyrighted characters, and whoever posted them has no right to license them to you. Cutting one for your own home is a very different risk from putting it on a product for sale.