
What's in the pack
Six printables, designed as one set so everything on the table agrees with everything else. That coherence is the entire point: a party where the invitation, the food labels and the wall art share a palette and a typeface reads as considered, while a party assembled from six different free downloads reads as a printer accident. Everything here uses the same bone, charcoal-plum and burnt-orange palette as the rest of this site.
The set covers invitations (a 5x7 card, four to a sheet), tented food labels that fold and stand on their own, a twenty-square scavenger hunt for the trick-or-treat walk, bingo cards in eight non-identical variants, drink signs for a self-serve station, and three pieces of wall art sized to standard frames. That is enough to carry an entire evening without buying a single piece of party stationery.
It's free, and the only thing we ask for is an email address so we can send it. You can grab it from the printables page. What follows is the part most printable roundups skip entirely: how to actually print the thing so it doesn't look like a school worksheet.
Paper is 80% of the result
The single biggest quality jump available to you costs about the price of a coffee. Standard copier paper is 75 to 90 gsm, and it is thin, slightly grey, and bends the moment anyone picks it up. Move to 160 gsm cardstock for invitations and anything that has to stand up, and 120 gsm for wall art. The difference is immediate and obvious to guests who could not tell you why.
Choose an uncoated matte stock, not glossy. Glossy photo paper fights this aesthetic completely — it throws hard reflections under candlelight and makes flat colour look cheap, whereas matte absorbs light and keeps the moody, printed-book quality the palette is designed for. If you can find a natural or ivory white rather than a bright optical white, take it; the bone background will sit on it beautifully.
One caution worth knowing before you buy: check your printer's maximum paper weight. Most home inkjets handle 160 gsm through the rear or manual feed tray but jam on it through the standard cassette. If yours objects, 120 gsm is a perfectly good compromise and still transforms the result.
Printer settings that stop the colour going wrong
Turn off 'fit to page'. It is on by default in most print dialogs and it silently scales everything down by three to five per cent to accommodate margins, which throws off every cut line in the pack. Set scaling to 100 per cent, or 'actual size'. If a thin margin gets clipped, that is the correct trade — the crop marks are positioned to allow for it.
Set paper type to match what you actually loaded. This matters more than people expect: the printer uses that setting to decide how much ink to lay down and how long to let it dry. Printing on cardstock while the driver thinks it is plain paper produces muddy, oversaturated darks — which is exactly where this palette lives.
Print one test page before committing the whole pack. Home printers running low on cyan will render the charcoal plum as a muddy brown and you will not notice until sheet twelve. Print the wall art first, look at it in the room's actual light rather than at your desk, then run the rest.
Cutting and folding
Scissors are the tell. Even a careful hand produces a very slightly wavering edge, and on a straight-sided card the eye catches it instantly. A twelve-inch guillotine trimmer is inexpensive and will get used every Christmas thereafter; failing that, a craft knife and a metal ruler on a cutting mat beats scissors comfortably. Cut just inside the crop marks so no printed line survives on the finished piece.
For the tented food labels, score before you fold. Run an empty ballpoint or a bone folder along the fold line against a ruler, then fold away from the score. Cardstock folded without scoring cracks along the spine and takes the ink with it, leaving a white split down the middle of your fold.
One optional flourish worth the ten minutes: rough up the edges. Drag the cut edge of the invitations lightly along the side of a sanding block, or tear them against a ruler instead of cutting for a deckled edge. It turns a printed card into something that looks made, which is the whole difference between handmade and homemade.
Using the games so they actually get played
The scavenger hunt is built for the walk rather than the house. Twenty squares of things genuinely spotted on a neighbourhood trick-or-treat route — a black cat, a house with no lights on, someone dressed as something from a film older than they are. It gives older children who have aged out of the excitement of the candy something to do, which is usually the actual problem at eleven and twelve.
The bingo cards come in eight variants with genuinely different square arrangements. This is worth checking in any bingo printable you download, because a surprising number distribute the same grid as multiple 'cards' and every player wins simultaneously. Print one per guest, hand out dried black beans as markers, and it fills the awkward twenty minutes while you wait for everyone to arrive.
Put the food labels out even for food that needs no explanation. A tented card reading 'brains' in front of a bowl of anything is a joke that costs nothing and does an enormous amount of work in photographs. It is also the single element guests most reliably photograph and post, which is a quiet argument for spending the extra on the good cardstock.
Curated picks for this guide
We may earn a commission from these links at no cost to you — here's how that works.
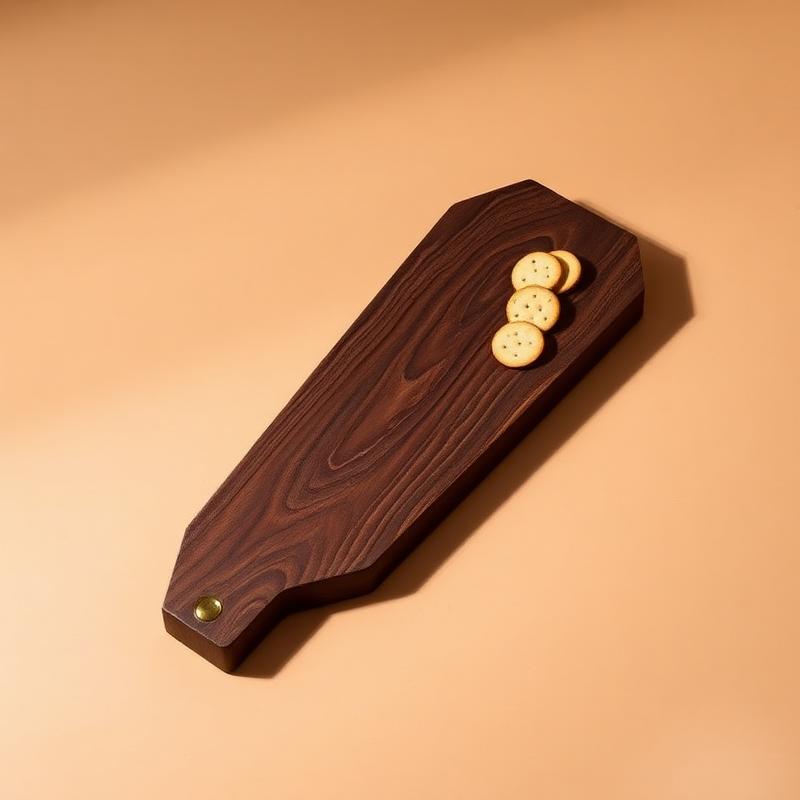
Coffin Serving Board
A coffin-shaped walnut board with a brass detail — cheese, charcuterie, or a pile of mummy hand pies all look better on it.
Curated pick · Available at Etsy
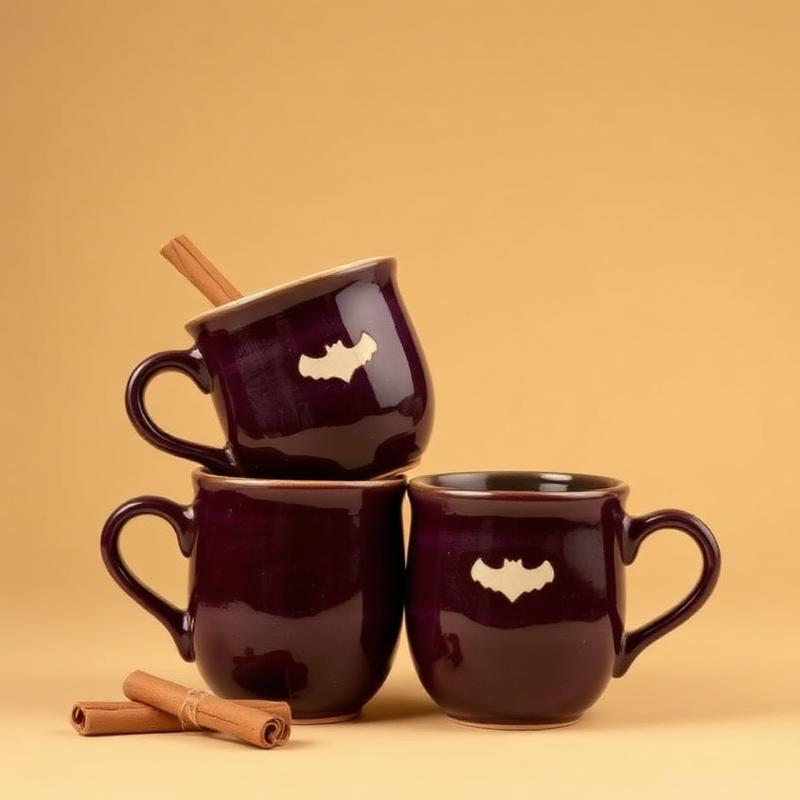
Stoneware Bat Mug, Set of Two
Hand-glazed deep plum mugs with a small cream bat — for the October morning coffee that deserves its own ritual.
Curated pick · Available at Etsy
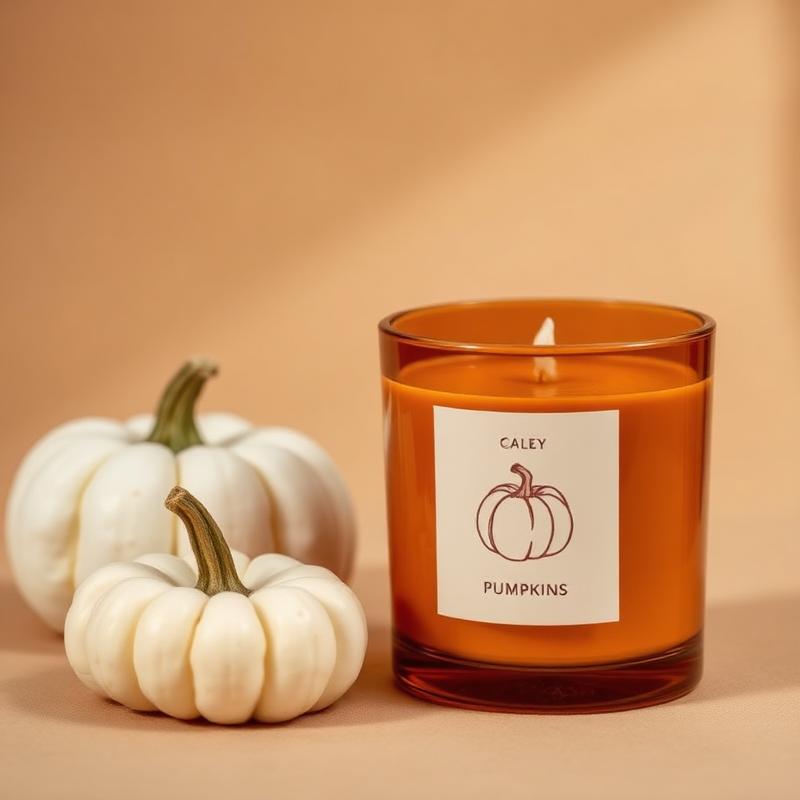
Pumpkin & Cedar Amber Candle
Pumpkin, cedar, and clove in an amber glass vessel. Light it an hour before guests arrive and the house does the rest.
Curated pick · Available at Etsy
Save this for later
Pin this guide to your Halloween board
October comes around fast. Save this now and future-you — standing on the porch with a stapler and a dream — will be grateful.
Save to PinterestFrequently asked questions
Is the printable pack really free?
Yes. All six printables are free for personal use in exchange for an email address so we can send them. You'll get an email when the season starts and one when something new is worth your time, and you can unsubscribe at any point.
Can I use these printables for a school or church party?
Yes, personal, classroom and community use is fine, including printing multiple copies. What isn't allowed is reselling the files, redistributing them as your own download, or using them on merchandise you sell.
What paper should I use?
160 gsm uncoated matte cardstock for invitations and anything that stands up, 120 gsm for wall art. Avoid glossy photo paper entirely — it reflects hard under candlelight and cheapens flat colour. Check your printer's maximum weight first; many home inkjets need the rear feed for 160 gsm.
Why do my printed colours look wrong?
Three usual causes: 'fit to page' is scaling the file, the paper type in the driver doesn't match what's loaded, or a colour cartridge is low. Low cyan in particular turns the charcoal plum a muddy brown. Print one test page before running the whole pack.
Do I need a special printer?
No. Any home inkjet or laser printer handles these. If yours won't take cardstock, drop to 120 gsm, or send the files to a print shop — most will run a small cardstock job for a few pounds and trim it for you.